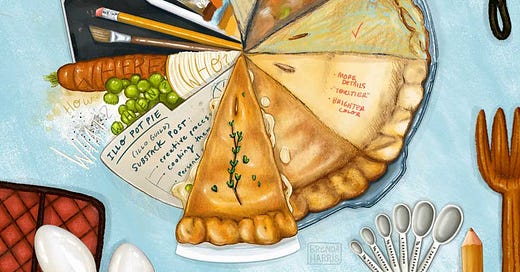
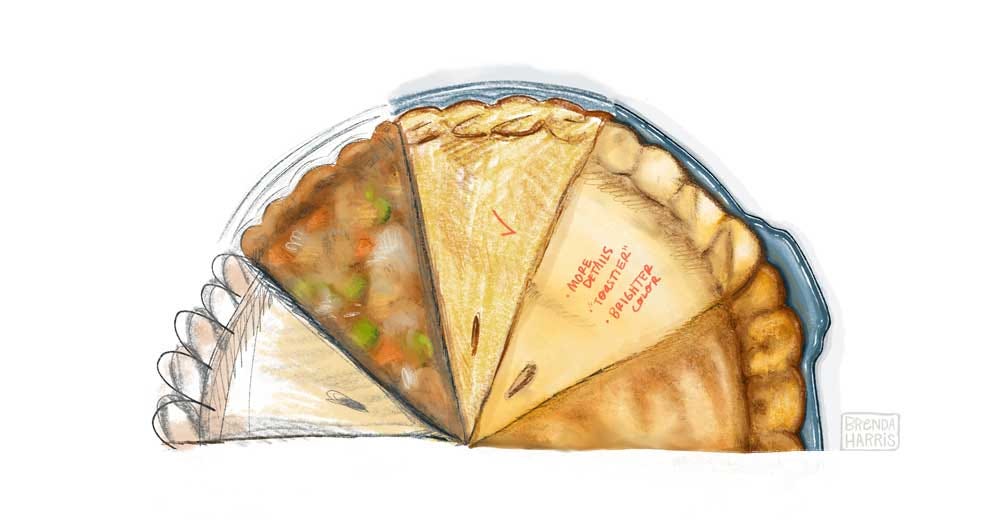
Creating an illustration can feel a lot like cooking up a meal. There’s prepping, creating, and serving. I have boiled it down to the 10 following steps:
1. Start with a Recipe
When you’re making an illustration, it’s very important to start with a contract. Even if it’s a personal project, your mental commitment to the project can count as a binding contact. A contract becomes your recipe for success. It sets expectations, time frames, payments structure, proofing process, and defines what the final product will be. Oh, you could probably still cook up something awesome with out a recipe, but you run the risk of forgetting an ingredient, overlooking a step, giving up on your goals, or worse - not getting paid. Set your ultimate goal, write down your due dates, include your rewards/payment, and define boundaries at the very beginning. Start with a Recipe.
2. Collect ALL the Ingredients
For any illustration job to run smoothly, you need all the ingredients! What are the specifics? Time frame, final size, color specifications, amount of pages, material being used, and which style is being requested? What is the final purpose of the illustration? How will it be used? There are many variables and it all depends on the project. For example, if you’re designing characters or scenes, what are the descriptions? Is it an animal or human? How old? Where are they located? What’s the weather like? Emotions? Accessories? Will the final product be printed or posted online? Collecting all the ingredients leaves less room for uncertainty later in the process.
3. Prepare Your Workspace
This is straight forward. You can’t whip up a fantastic illustration without your favorite tools, proper time, and the space to get your work done. Preparing your work space means having what you need to get the job done. You can’t cook without a stove, you can’t bake without an oven and you’ll need all your tools along the way. Preparing might look different for everyone. You might schedule out your time out in advance, order new paper, paint or ink, and make sure your computer or ipad is fully charged…etc. It’s an obvious step, but an important one. Side note: you don’t need top of the line appliances or the latest gadget to cook up an awesome meal!
4. Research, Wash, and Chop
Every illustration begins with research. It really is how you begin to understand the project better. In some cases it doesn’t have to be extensive. You may already have a basic knowledge on a subject. Or it’s something you’ve worked on before. Either way, reviewing your perimeters and looking up images of things you’ll be drawing gets you visually immersed in that world. It’s even better if you can do research in person. Go to a museum, library, or garden. Take photos or sketch. Let the imagery soak in. Creating a mood board can be helpful as you put together a color palette and style guide. If you are unfamiliar with what you’re drawing, a little detective work will go a long way. Breaking down your project into pieces is the best way to prep your ingredients. This goes hand in hand with the next step sketching and measuring.
5. Sketching is Measuring
Once you have a visual library for your particular illustration, you’re ready to sketch. This is like measuring your ingredients before you add to your pan or pot. You’re figuring out what your illustration needs. You might sketch small thumbnails of a book layout, small icons or visuals for a pattern, several versions of a character, or practice drawing the shape of something you’ve never drawn before. You might measure too much, or measure too little. You start to get a feel for what the illustration needs. Perhaps you even get some input from your client or a trusted critique group. Of course you’re following the original recipe to know what your target is. This part of the project is a bit messy. You might take some things out or realize at this stage you need another ingredient. It’s all part of the prep work before your final drawing can begin.
6. Let Your Ideas Simmer
As you research, sketch, and begin cooking up final ideas for a proof, you are also letting these ideas simmer. Sometimes all a recipe needs is time. Time to soften, melt, boil, rise, bake or cool. After some time, all the flavors will begin to mix and it just feels right. You have sketches you feel good about. You’re ready for the proofing process.
7. Proof to Taste
Proofing is such an important process! You get to share your ideas with your client or reflect on your own personal project. You’re going to taste where it’s at. You might realize you need more salt or it’s going to need totally different ingredients after all. There are so many things that could change at this stage. Colors, character styles, OR maybe it’s on the right track! This process may be quick or it may take a little back and forth communicating. Cooking up something good takes patience, practice, and honestly a little love.
8. Stir, Flip, Whip, AND Bake
Once sketches and plans are approved…you’re ready for the final work! You get to finalize everything!! You’re bringing everything into focus. You get to complete the drawing with everything that you’ve put into place. All ingredients added, stirred, flipped, whipped and baked to perfection. You get to do what you do best, draw an amazing illustration!
9. Final Seasoning
There may be a final stage where you send completed work to your client or you take a step back and realize there are a few final edits. A word change, a shadow added, a character moved slightly to the left. There’s a little back and forth. Maybe it needs a sprinkle of color or dash of texture. Melted cheese on top, drizzle of sauce, or chopped herb for decoration…. Viola!
10. Serve a Complete Meal
Finally, you’ve served up a beautiful illustration. Make sure ALL files are saved, sent where they need to go, and your client (maybe it’s you) is happy. The recipe completed as planned! Yay! Time for dessert! … or a nap.
Does this sound like your creative process? What would you add or take out?
This post is part of the IlloGuild’s question of the month.
This month’s question: What is your PROCESS?
We all live around the world, have unique styles, and approaches to creativity. So, make sure to follow IlloGuild to read a variety of other illustrator perspectives! We also invite you to discuss the topic LIVE with us over zoom every month. Make sure to register for FREE to join the conversation. :)


